
Saturday, January 11, 2014
(Cheap) Christmas Gifts for Students
I wanted to give my students something for Christmas that wouldn't cost too much, but also mean something to them. After perusing different sites, I found personalized bookmarks. I decided to make these for my students and put them in a little goodie bag with candy and a "No Homework" pass. I went to JoAnn Fabrics and bought double sided scrapbook paper. It's important that it is double sided so that the back of the bookmark is not plain. I got the ribbon from the dollar section at Target. I then typed up all of their names and printed those out just on white paper. I used fancy scissors to crop the edges. I cut the scrapbook paper to a width of about 2 1/2 inches and a length of six. I then glued on the names and then laminated them. Next, I hole punched the top for the ribbon. Make sure to get very flexible and light ribbon because if it is too thick it will bust the hole. I bent the ribbon in half and looped it through the hole. Ta-da! You have yourself a wonderful gift and it only cost about $7.00 total!

Tuesday, January 7, 2014
Yarn Wrapped Letters
How to make yarn wrapped letters:
.JPG)
So this is what happens when a teacher gets one too many snow days in a row, haha!
.JPG)
I bought these wooden letters from Michael's Craft Store. I recommend buying cardboard letters instead of wooden letters. It was difficult to wrap all of the fancy little edges. It would have been much easier it they were straight edges. Also, I bought four different colors of yarn. You can choose to do all different colors, the same color, or a pattern. I have seen it done several different ways and they all look great! My living room has all four of the colors I chose so that it was match. I decided to spell "home" but I have seen other words like hope, love, and welcome.
.JPG)
I first wrapped vertically to cover the top edges and then wrapped horizontally. The edges were difficult since they curved so I had to get out the hot glue gun for those. This is a time consuming and tedious project! Warning: patience is needed!
.JPG)
To do the "O", I first wrapped vertically and then horizontally around the hook. I kept wrapping it all the way around until it was finished. Make sure to pull the yarn really tight to keep it in place. I followed the same pattern (horizontally then vertically) with the other letters.
.JPG)
Here is the finished product!
Monday, January 6, 2014
DIY Burlap Wreaths
.JPG)
.JPG)
I have been seeing these all over and decided that it's time to make my own!
.JPG)
I got a few of these flowers to hot glue onto the finished product. I got three cream colored flowers and one that looks a little more rustic to add some contrast. I also got a circular outline and a role of burlap.

I wrapped the burlap around the tube two times to make it look slightly thicker. Then with the extra burlap, I tied a bow. I hot-glued the ends to the tube and then the bow to the burlap. To make the final product, I hot-glued the four flowers to the wreath.
.JPG)
Here is the final product on the door!
I loved making the first wreath so much that I needed to make a second! I made the first one to use during winter so I decided to make one that I can use in the spring.
.JPG)
Here are the materials that I purchased from JoAnn's: 1 1/2 yards of coral burlap, a white flower, and a wire wreath template.
.JPG)
It was hard to get started at first because I bought yards of burlap instead of the packaged rolls. They didn't have anything "springy" enough for me in the rolls. After I tediously cut and got rid of all of the annoying fringe coming of the sides I then had several strips like I would have had had I bought the roll. I recommend buying the roll; it will save you a lot of time! I just made loops and tucked and tucked some more! The posts I have seen about making them said that there is no right way to do it and they are right! It was very easy once I got going!
.JPG)
Once I got all of the burlap looped and tucked away, I hot-glued a large white flower onto the side.
.JPG)
Here is the finished product on the door! Doing it myself was fun and much cheaper than buying it already done!
Sunday, January 5, 2014
Peek into my Closet- January


Top: Target
Plum Jeans: Kohl's
Boots: Target
.JPG)
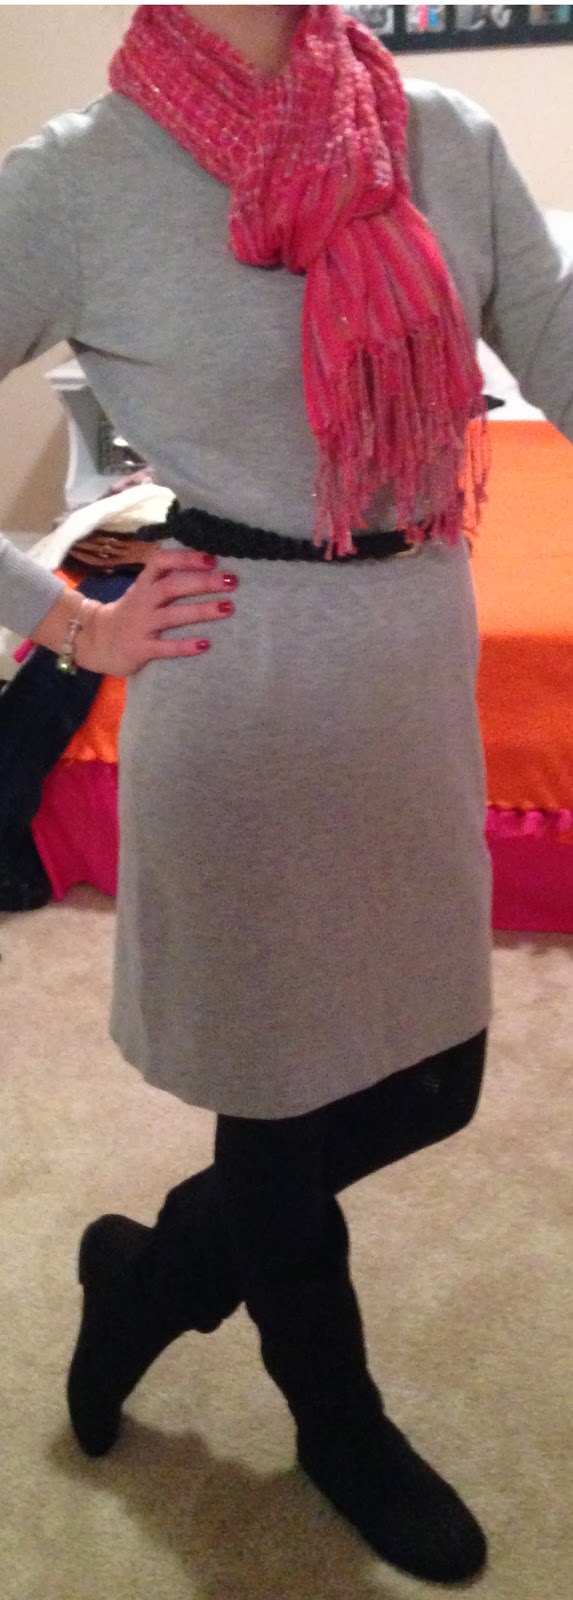
Dress: Old Navy
Scarf: Kohl's
Boots: Target

Top: Old Navy
Jeans: JCP
Leg Warmers: Payless
Scarf: Kohl's
Boots: Target

Top: JCP
Scarf: Kohl's
Teal Jeans: H&M
Boots: Target

Necklace: Forever 21
Top: Express
Boots: Target
Black Jeggings: Kohl's

Scarf: Kohl's
Top: Old Navy
Jeans: JCP
Leg Warmers: Payless
Boots: Target
Dress: Old Navy
Scarf: Kohl's
Belt: H&M
Leggings: Kohl's
Boots: Target
Subscribe to:
Posts (Atom)